

(yes, I normally wear stretch pants with this top,
but I was being lazy and "just getting the photos taken."
That's as little "leg" as I could manage for you!)
This top is a little more complicated than yesterday's, but JUST as comfy!! There's two ways to make this, and I'll explain the way I did it... and then the way I'd do it if I was to do it again.
Using the same $2.00/yd knit from the value bin at Hancock Fabrics, it's actually THREE pieces of fabric... the bodice, the front of the body and the back of the body. You'll also need a length of 1/4" elastic that fits snugly around your bust line.
The bodice is made just like the Kimono Tee's, but it stops about 1" below the "arms."
The bodice has identical front and back pieces, that start at the same width as the bottom of the bodice, and move out in an a-line to your final wanted width. You'll want to make sure you have PLENTY of room for a growing belly and tushy (Ideally 1.5 times your widest measurement) The length is measured from your bust-line to where you'd like it to hit your legs, plus 1 inch.
Sew the a-line pieces into a tube, and turn it inside out. Then sew the tube to the bodice (right sides facing) with a 3/4" seam allowance all the way around, and then again at 1/4" seam allowance from the edge but NOT all the way around... leave about 2" unsewn. You've just sewn a casing for your elastic!!
Now, when putting elastic in, make sure you "try on" the elastic so that it fits you snugly, but not uncomfortably, or too loose. Thread it through the "mini tube" of fabric and stitch the sides together, and then finish stitching the casing closed. Essentially, you are done now, but I did a few little "extras."
The first, was to make sure the elastic gathered more fabric in the tummy area than in the back, so I tacked a few stitches through the casing so there was more fabric in the front than the back and the elastic wouldn't spin.
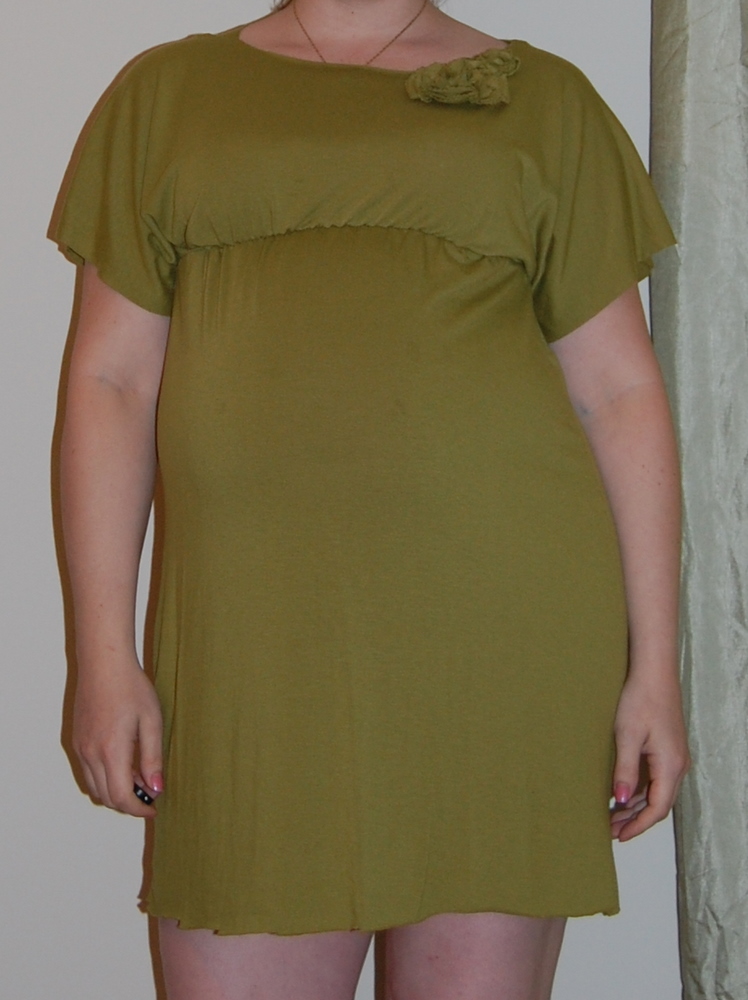
The second was probably more "important" - adding some fabric flowers to the front. Not only did this help me figure out which was front and back (since I tacked the fabric, it now HAD a front and back), but it makes it look "finished". One was a twisted flower - a thin strip of the knit fabric twisted and stitched as I went until it was about an inch and a half wide. And a "quarter fold" flower. The same knit cut with pinking shears in VERY not-circular circles. The wonkier, the better actually! 4 large circles, and 4 small circles were cut, and then folded in quarters so there were a bunch of layers, and then arranged in a circle and sewn together. To give it some dimension, when stitching it to the neck of the tunic, I put a stitch through the top layers of the smaller flowers.
Play, have fun! Try your own version of flowers, or different fabrics!
Now, if you haven't already tried making something out of your fabric, and are not piecing this together from what you have left... when you cut out your bodice, just extend it as long as you'd like it to be +1" and put a HEAVY a-line in below the arms. Then fold so that "right sides face" at the bust line, and sew at 1/2" seam allowance to make a pocket for your elastic, leaving a 2" gap. Then thread your elastic and finish sewing up your casing. Ta-da!! Much easier. :)
-Betsy
No comments:
Post a Comment